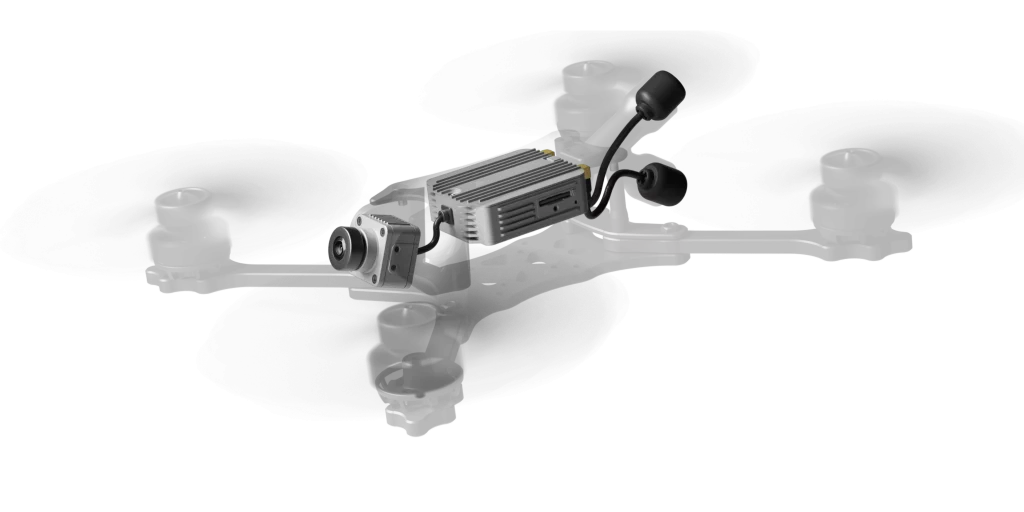
The DJI Digital FPV system has 2 Airunts, The DJI Airunit and the Caddx Vista/Runcam Link. Are compatible with both the DJI FPV Goggles V1, V2, Goggles 2 & Integra however there is some specific firmware requirements with Goggles 2 and Integra
Air Units
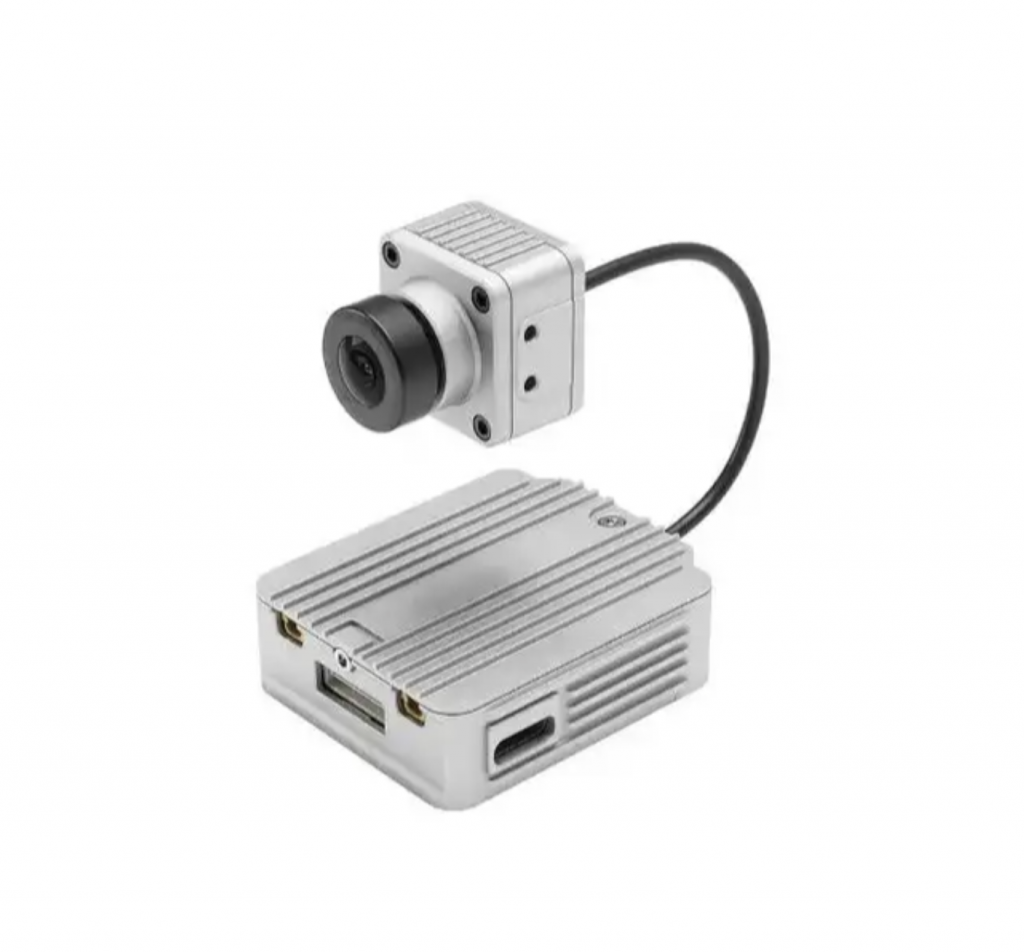
DJI Air Unit
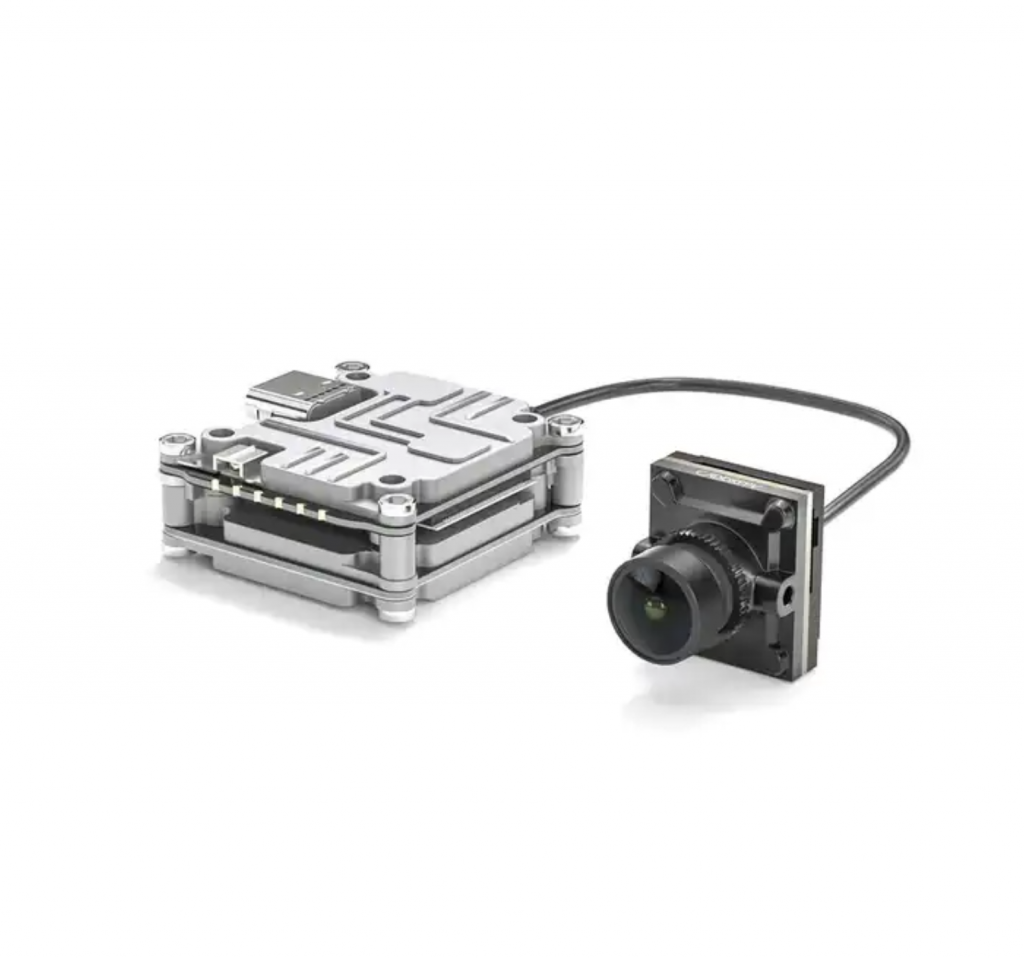
Caddx Vista
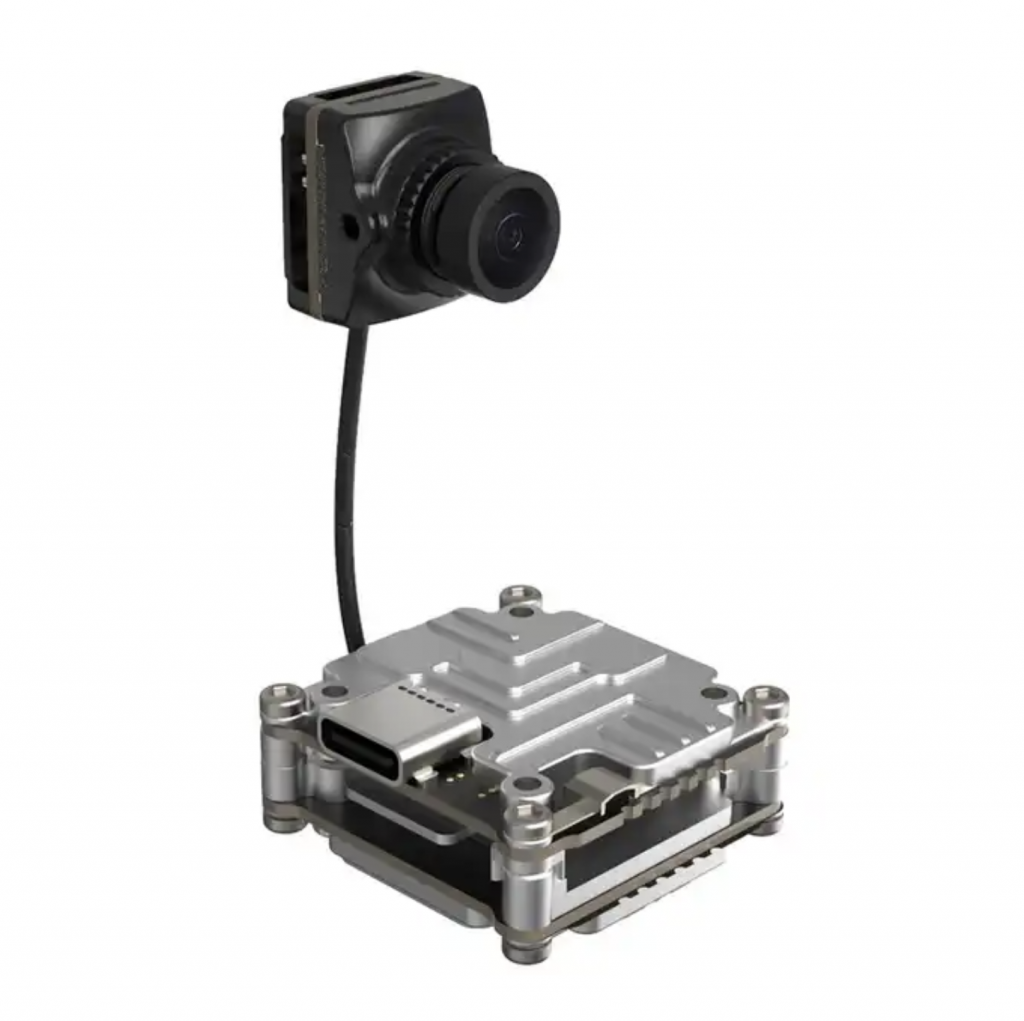
Runcam Link
Goggles & Firmware Compatibility
DJI Digital FPV Air Unit/Caddx Vista/Runcam Link (DIY FPV Mode) work on the DJI FPV Goggles V1, V2, Goggle 2 and Goggles Integra.
*Special Attention to firmware must be made with the original DJI Air units on the Goggles 2 and Integra, these Airunit will only work with Goggle 2/Integra on FW v01.01.00.00
To use DJI Digital FPV Air Unit/Caddx Vista/Runcam Link on DJI FPV Goggles V1 or V2 these airunits must be on firmware v01.00.06.08 or earlier.
You can not use these airunits with Goggles 2 and V2 goggles with out changing the FW on the Air unit and you can not spectate on these airunits between the Goggles V1/V2 and the Goggles 2 or Integra.
DJI O3 is not affected.
DJI Remote Compatibility
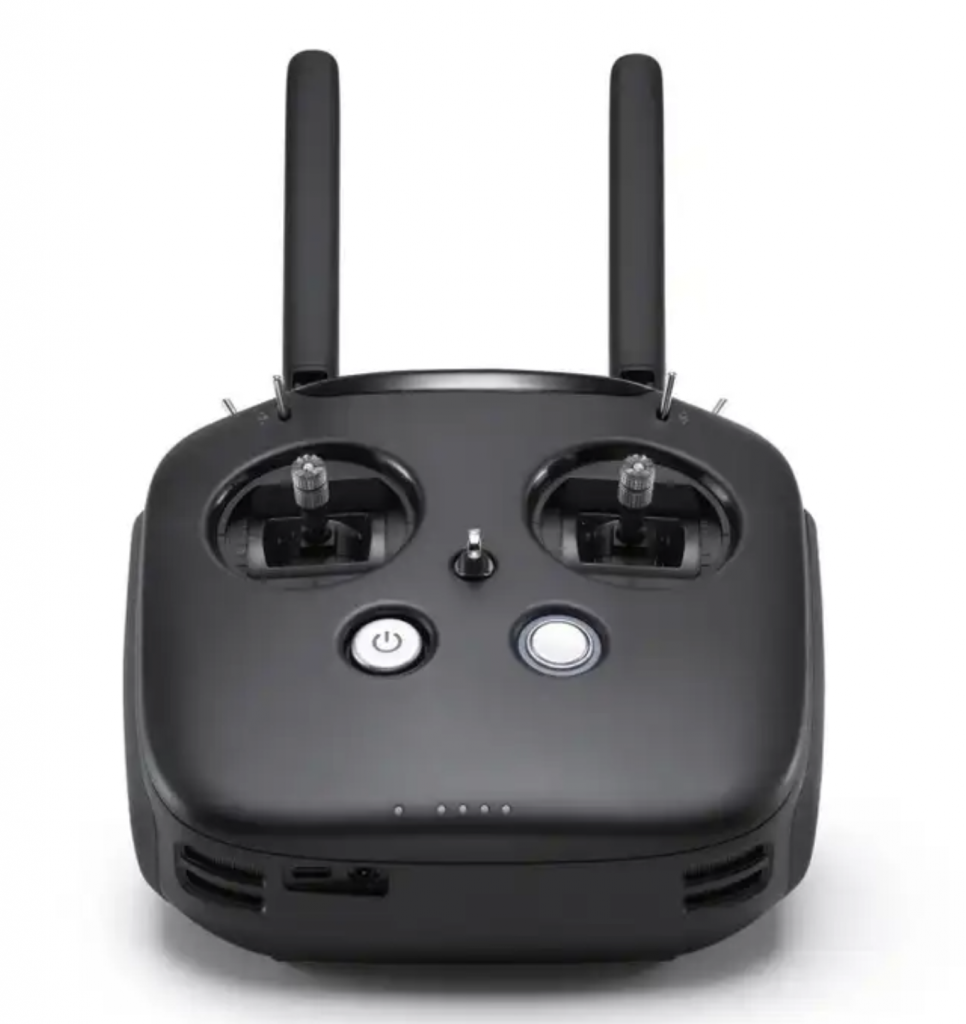
When using the DJI FPV System with the DJI FPV Goggles V1 and V2 these air units are compatible with the Original Black DJI FPV Remote.
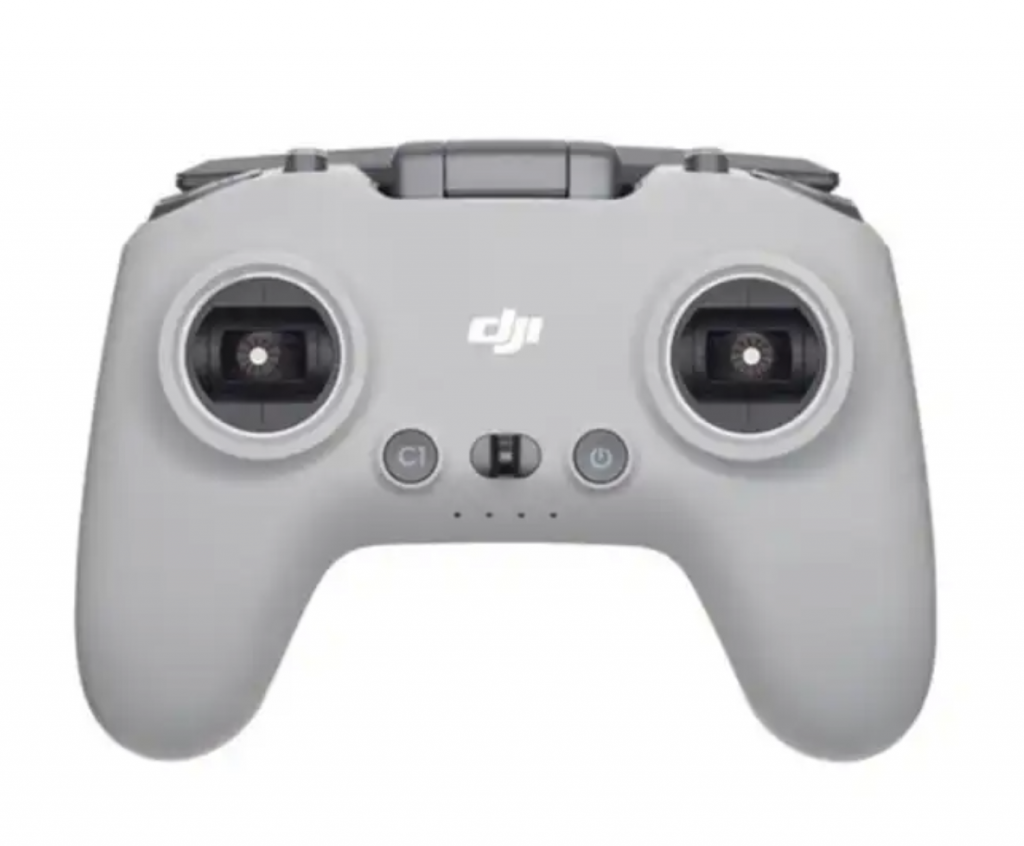
When using the DJI FPV System DJI with Goggles 2 or Goggles Integra these air units are compatible with the DJI FPV Remove V2 (greay small one).
You can not use the Grey Small V2 remote with the DJI Digital FPV air units on DJI Goggles V1 or V2.
FCC Hack
To switch to FCC Mode on DJI Digital FPV system you create a file and place it on the sd card of the Air Unit/Caddx Vista/Runcam Link to allow you to be able to select 700mw in CE regions. This will also allow the selection of 8 channels rather than the 4 in CE.
To Do It
Create a text file on the root directory of a micro SD card and name it “naco”, it is best to use Notepad++ to do this and save without file extension so the file name and extension becomes naco.txt
Type just the number “1” in the text file and save.
Insert SD card in the DJI Air Unit and power on the full system.
Under the power settings in the DJI goggles you should now have 700mw available and 8 Channels
For Vista/link save Naco file onto Vista internal storage, do this by connecting vista/link to PC via USB C and powering air unit, you should see a drive appear in your drives list. if it does not rotate the USB C Cable 180 and try again.
1200MW Hack – Goggles
Before being able to do the 1200mw mode hack the FCC Hack above must have been performed first.
Create a .txt file, name it naco_pwr with Notepad++
Type pwr_2 inside the text file then save.
Copy naco_pwr.txt to a micro SD card and place in DJI FPV Goggles (Not Airunit)
Power on Goggles and Air Unit and wait for connection.
You should now have 1000 & 1200mw modes available in the power settings.
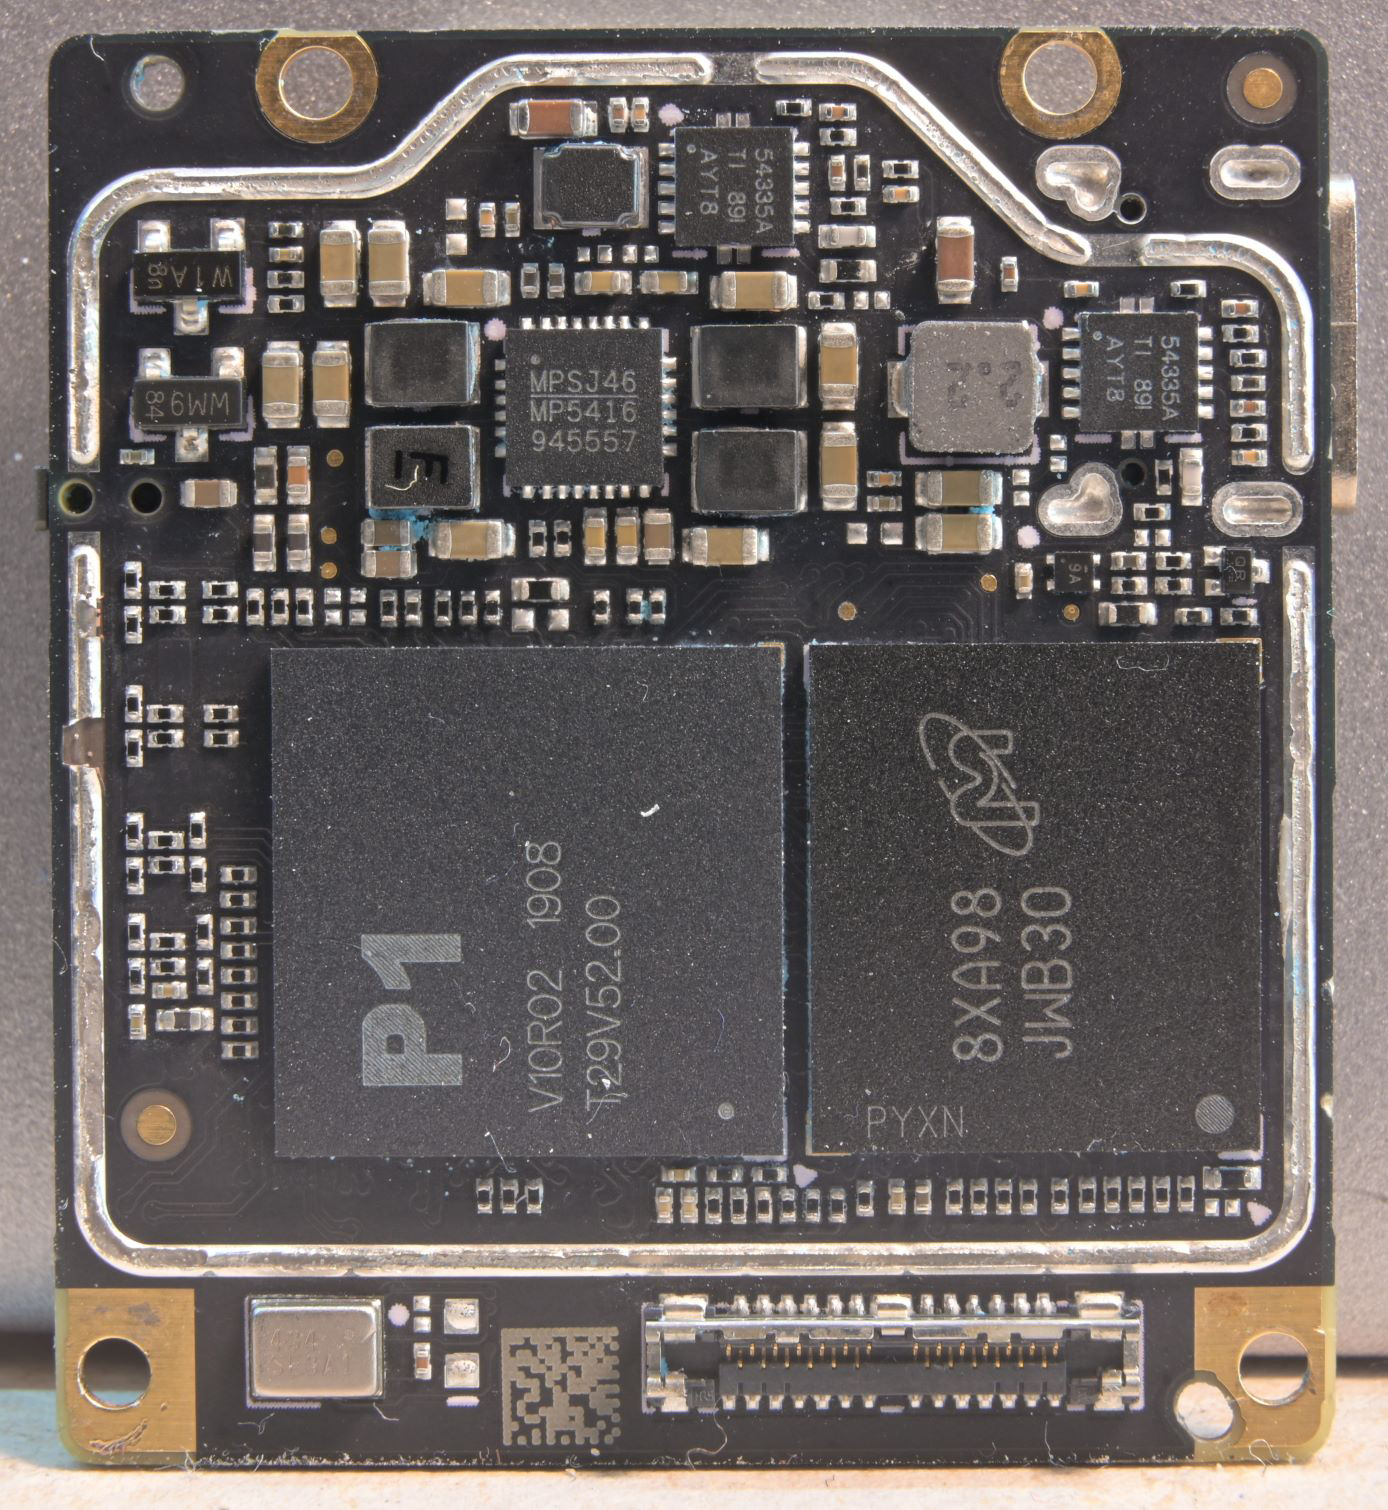
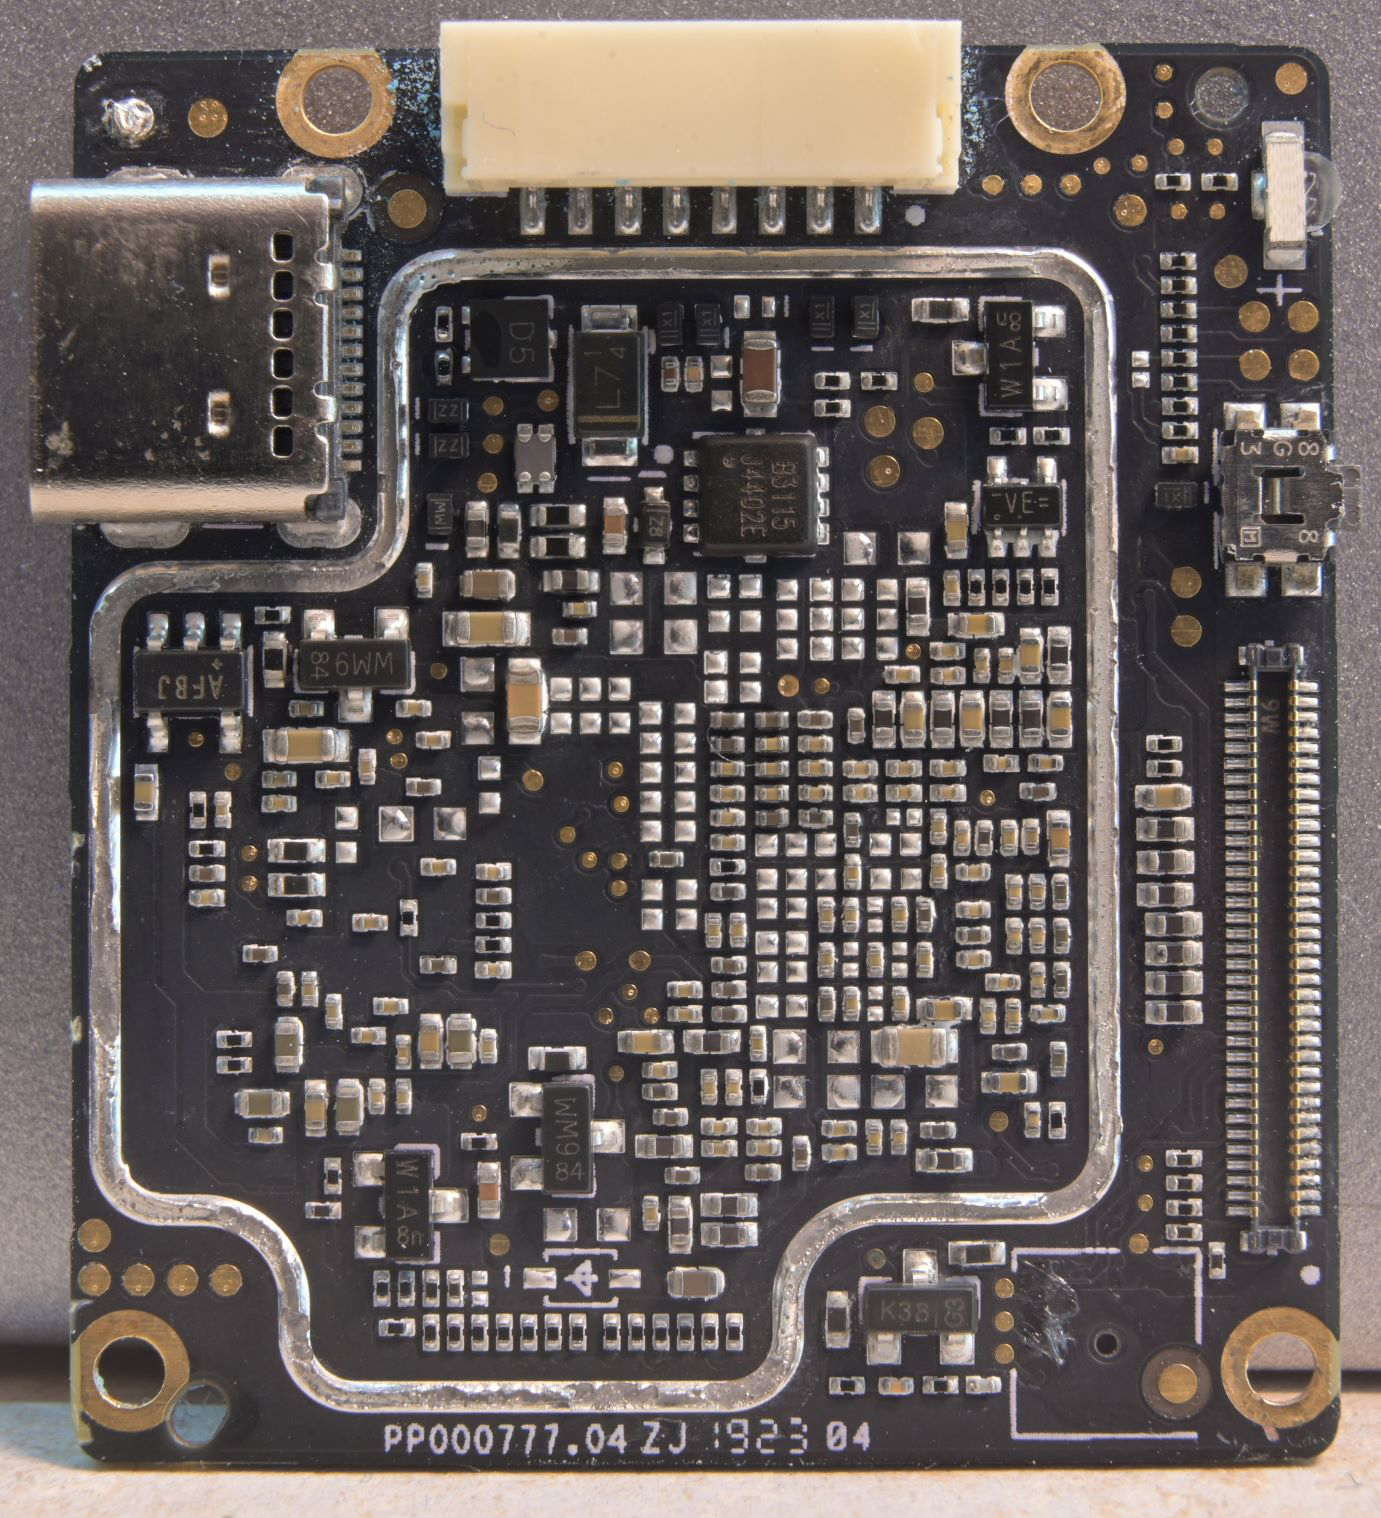
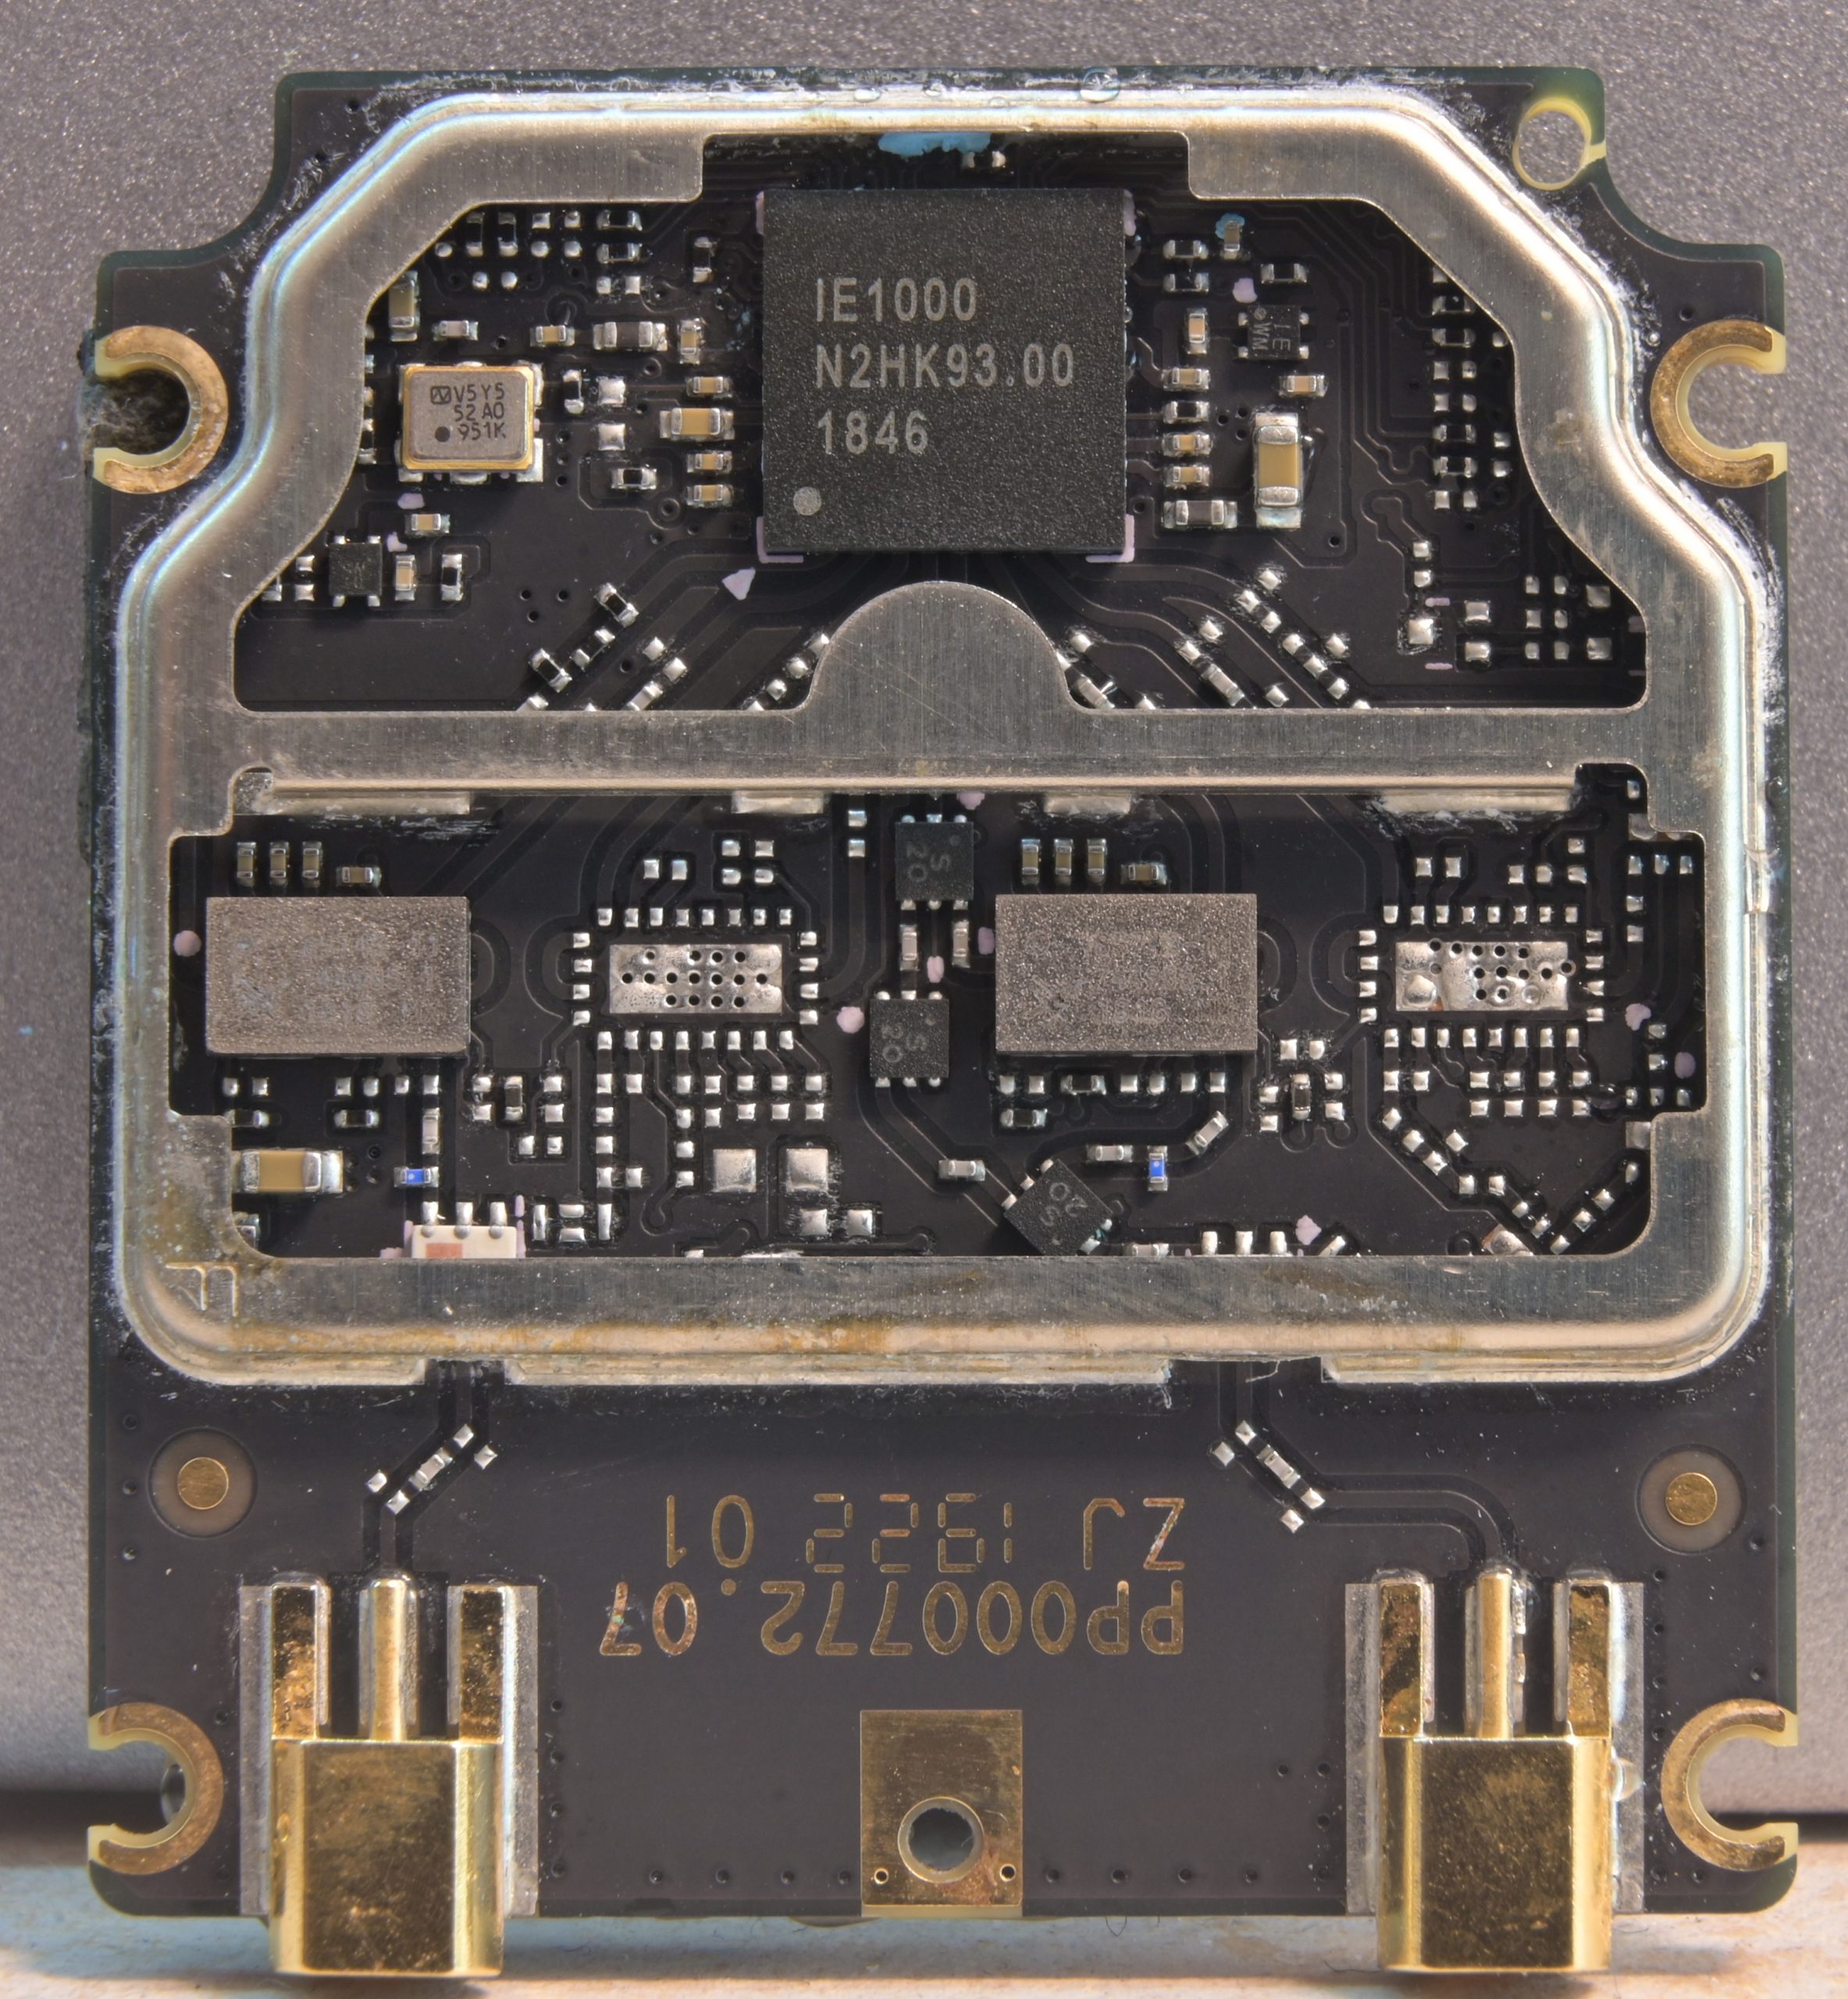
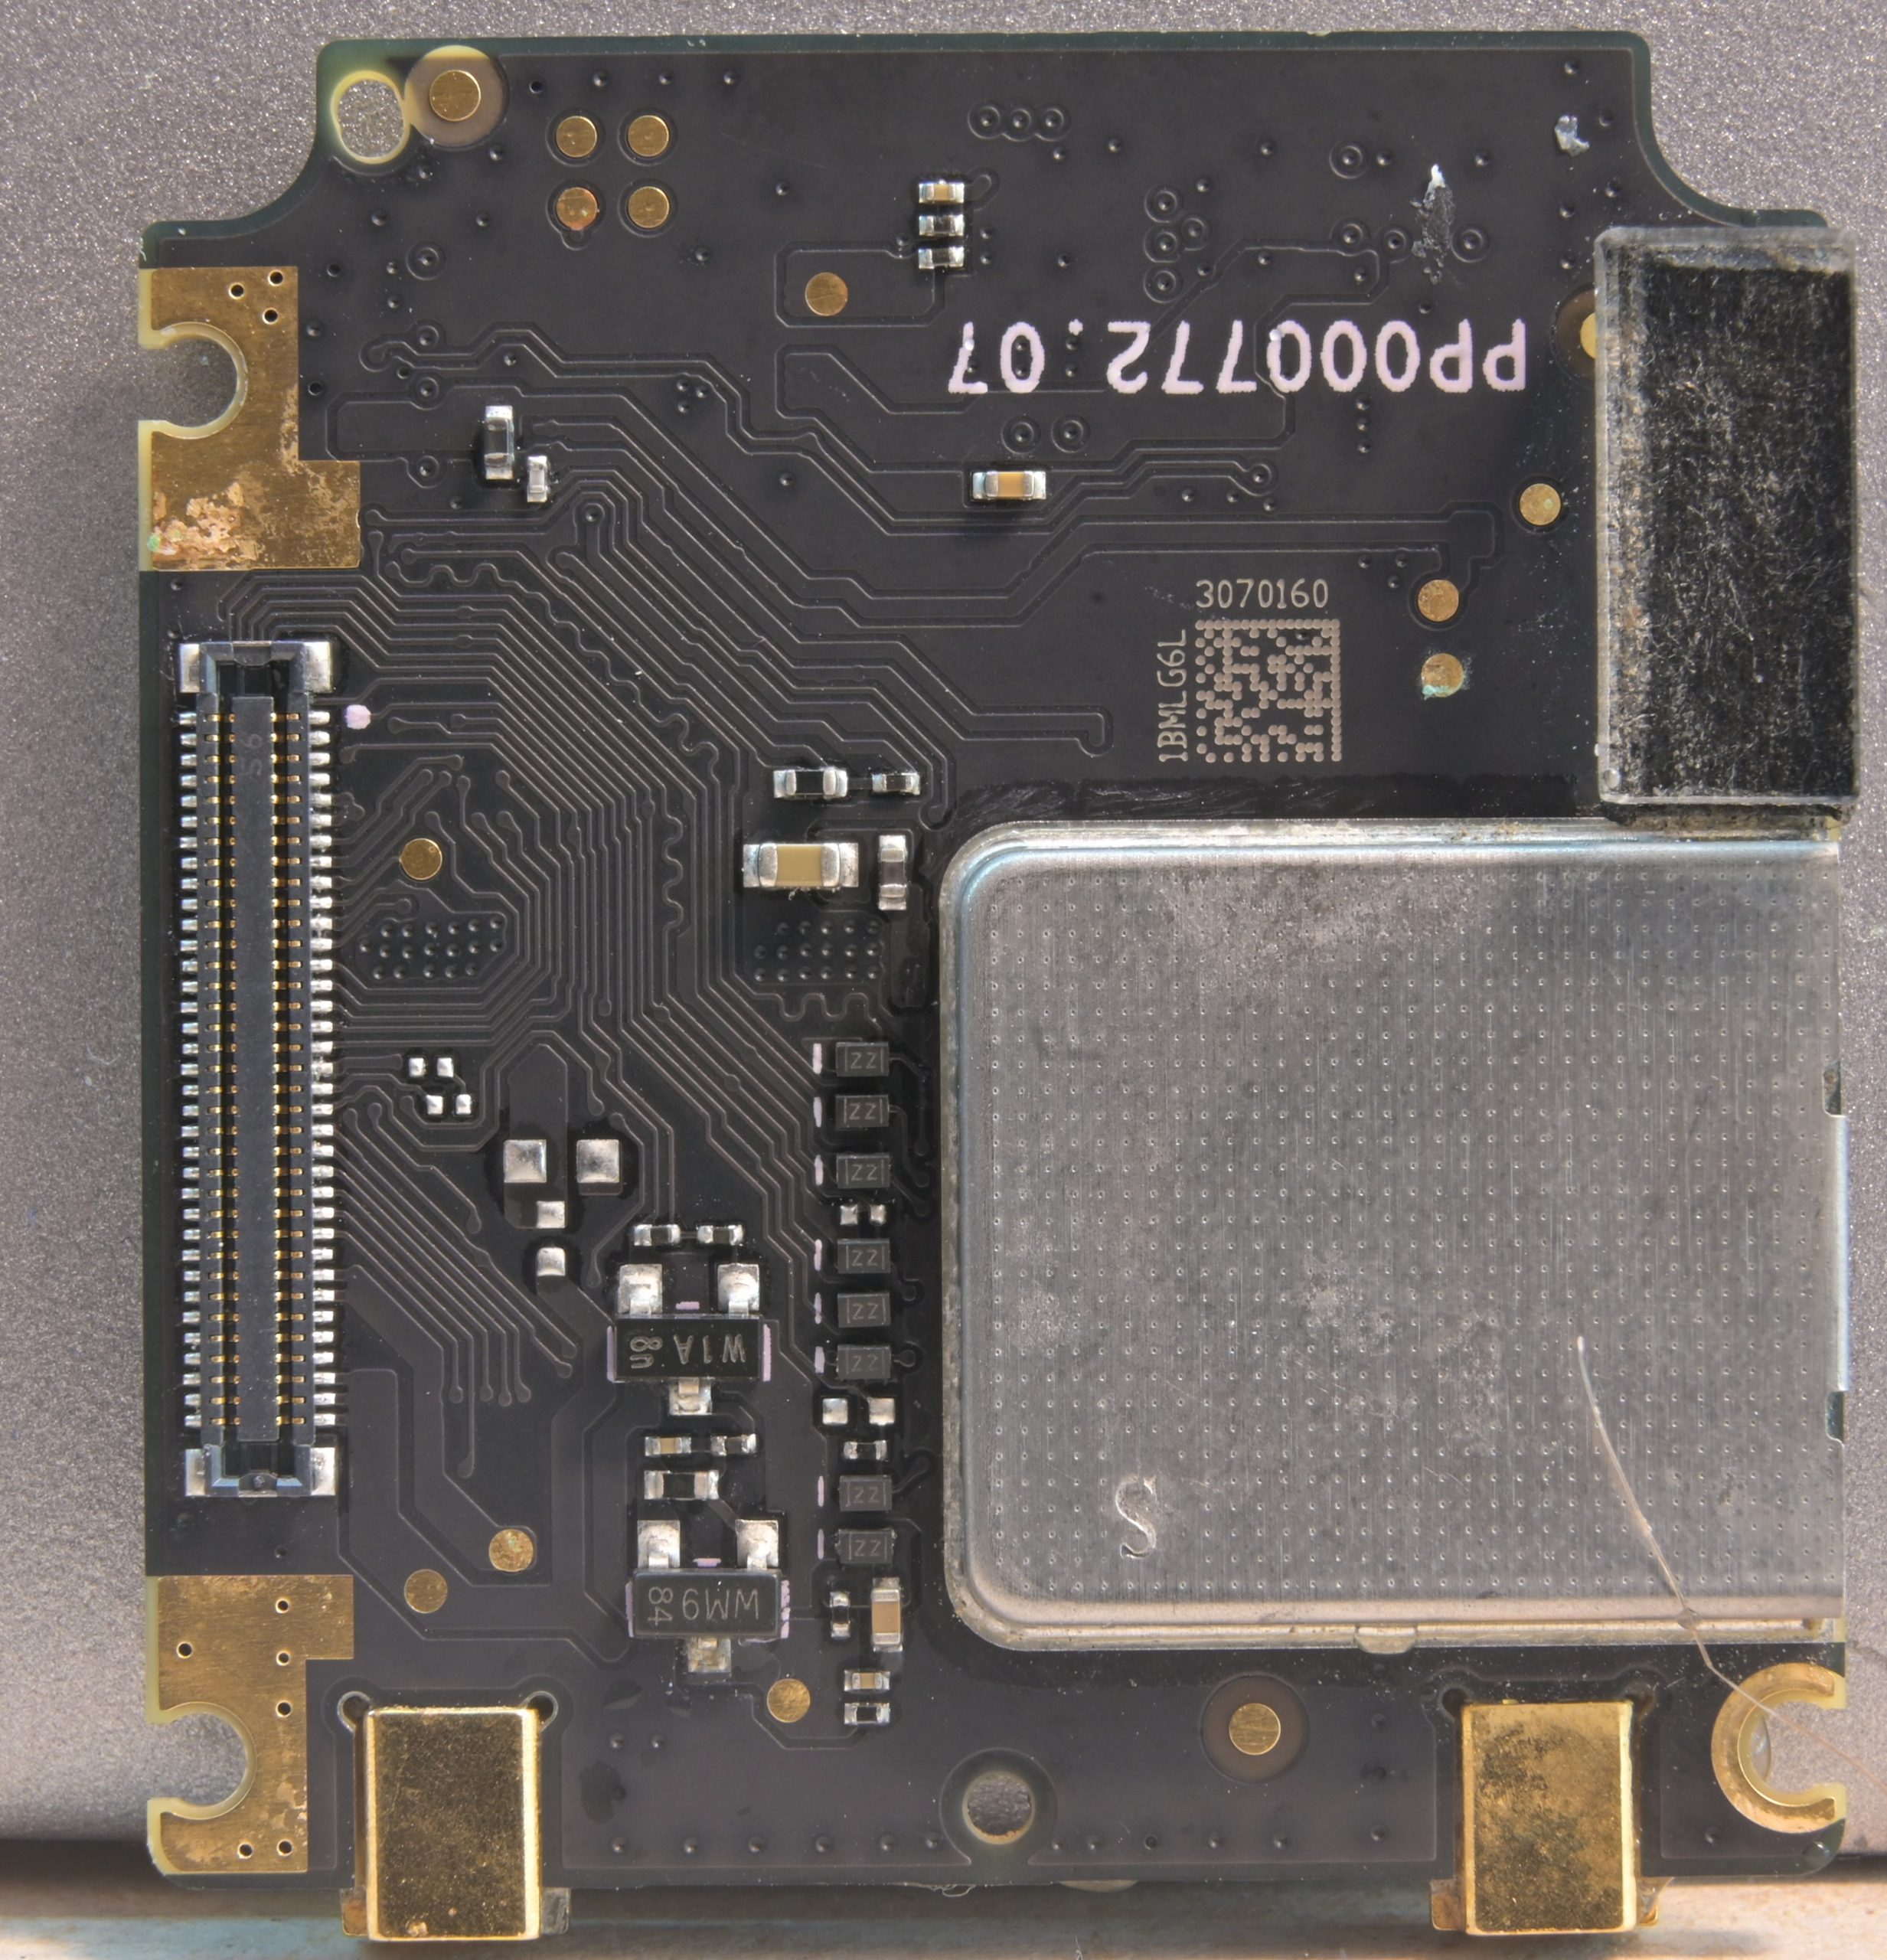
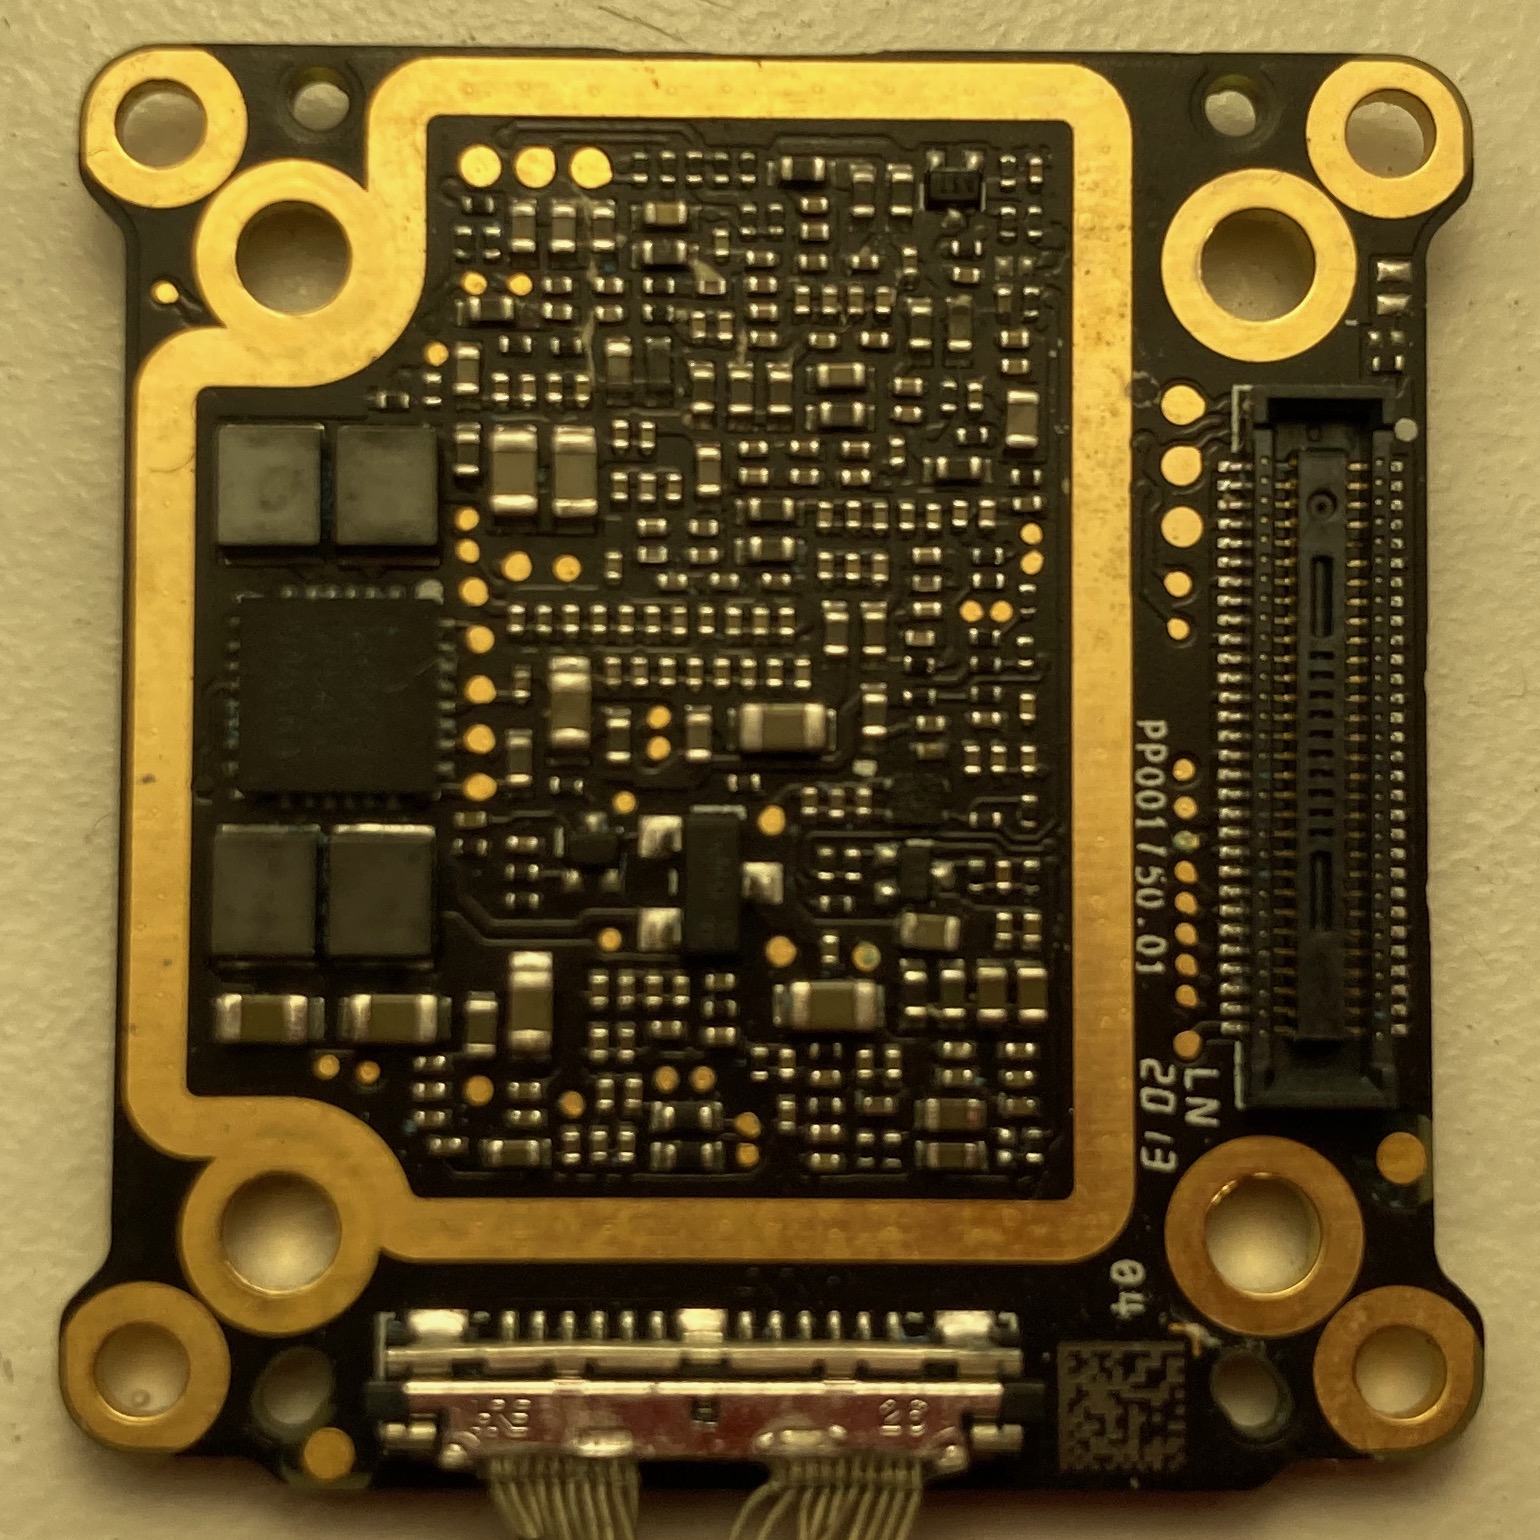
Internal Images DJI Air Unit
DJI FPV Air Unit The DJI FPV Air unit has two pcb’s, RF Board and DC/ASIC pcb.
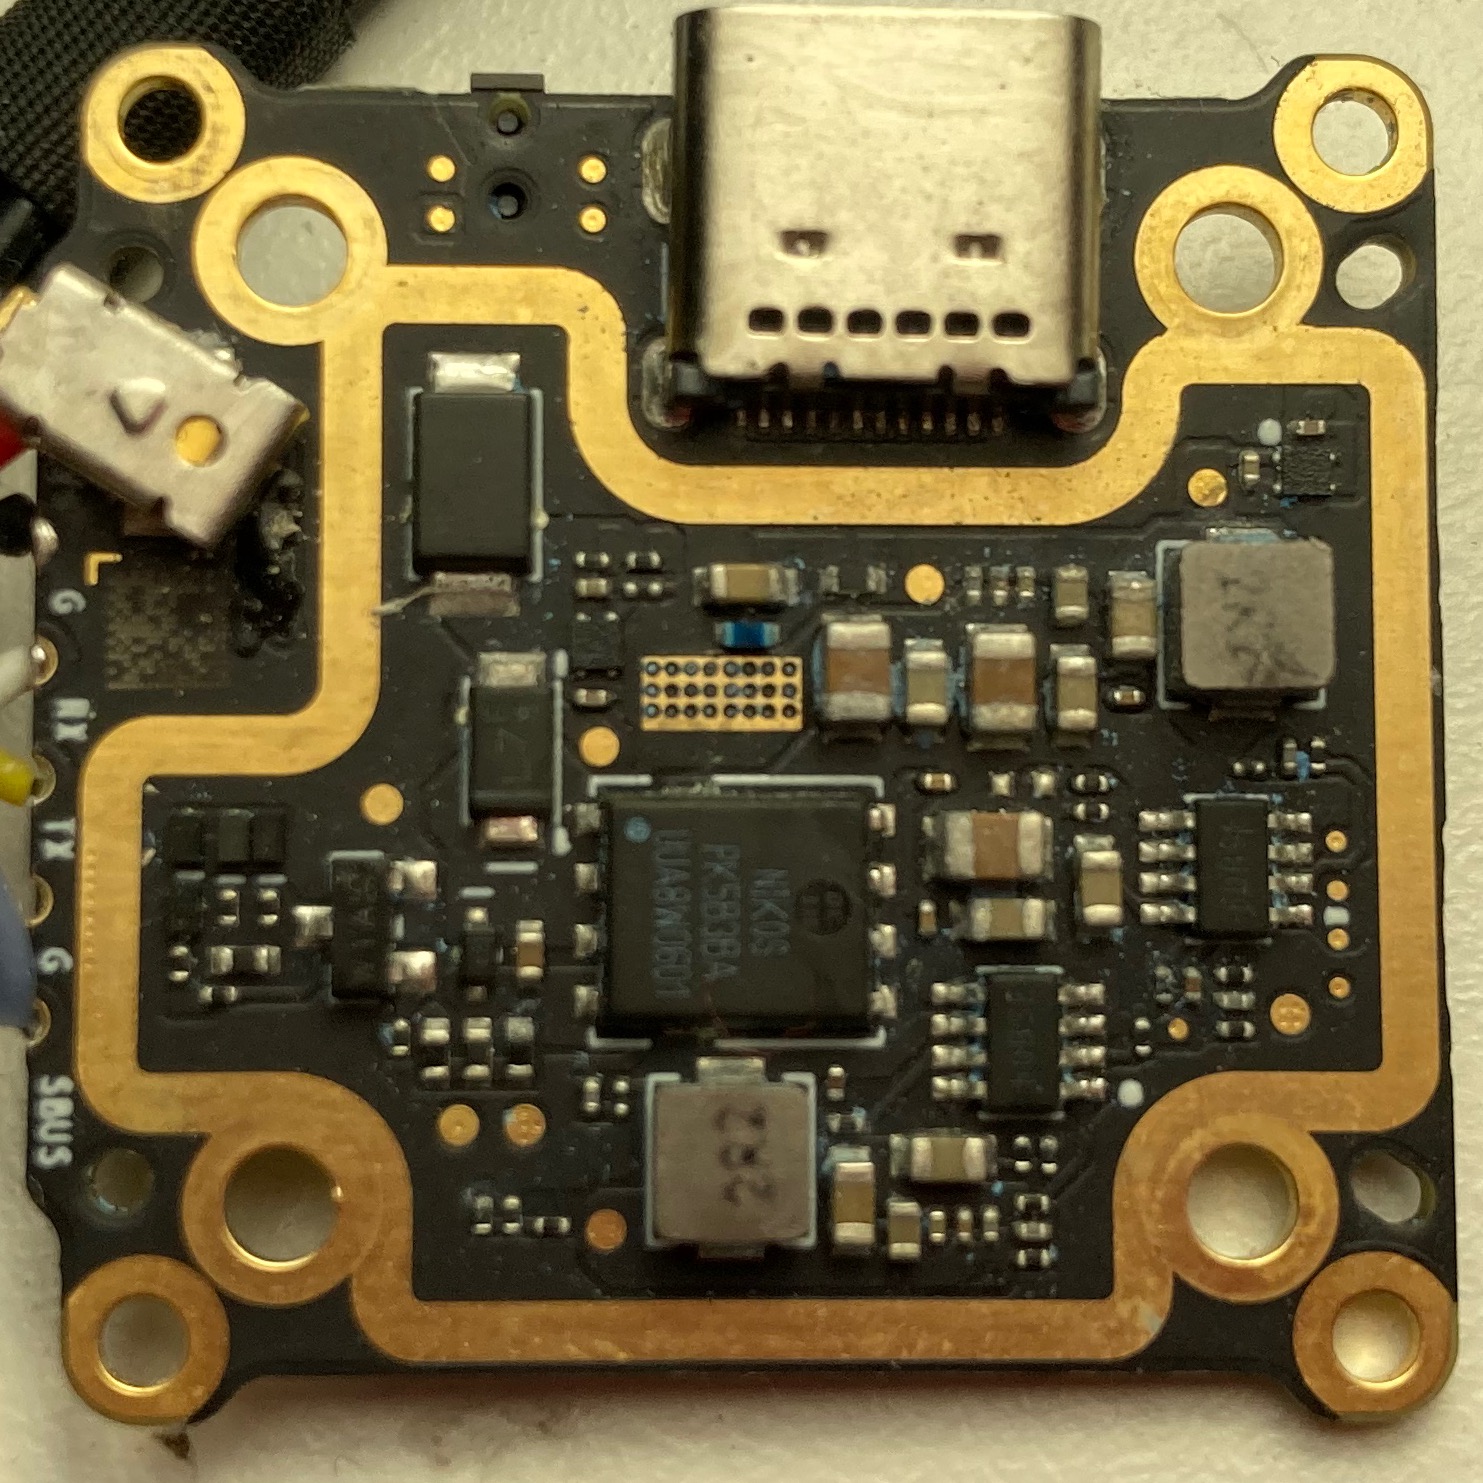
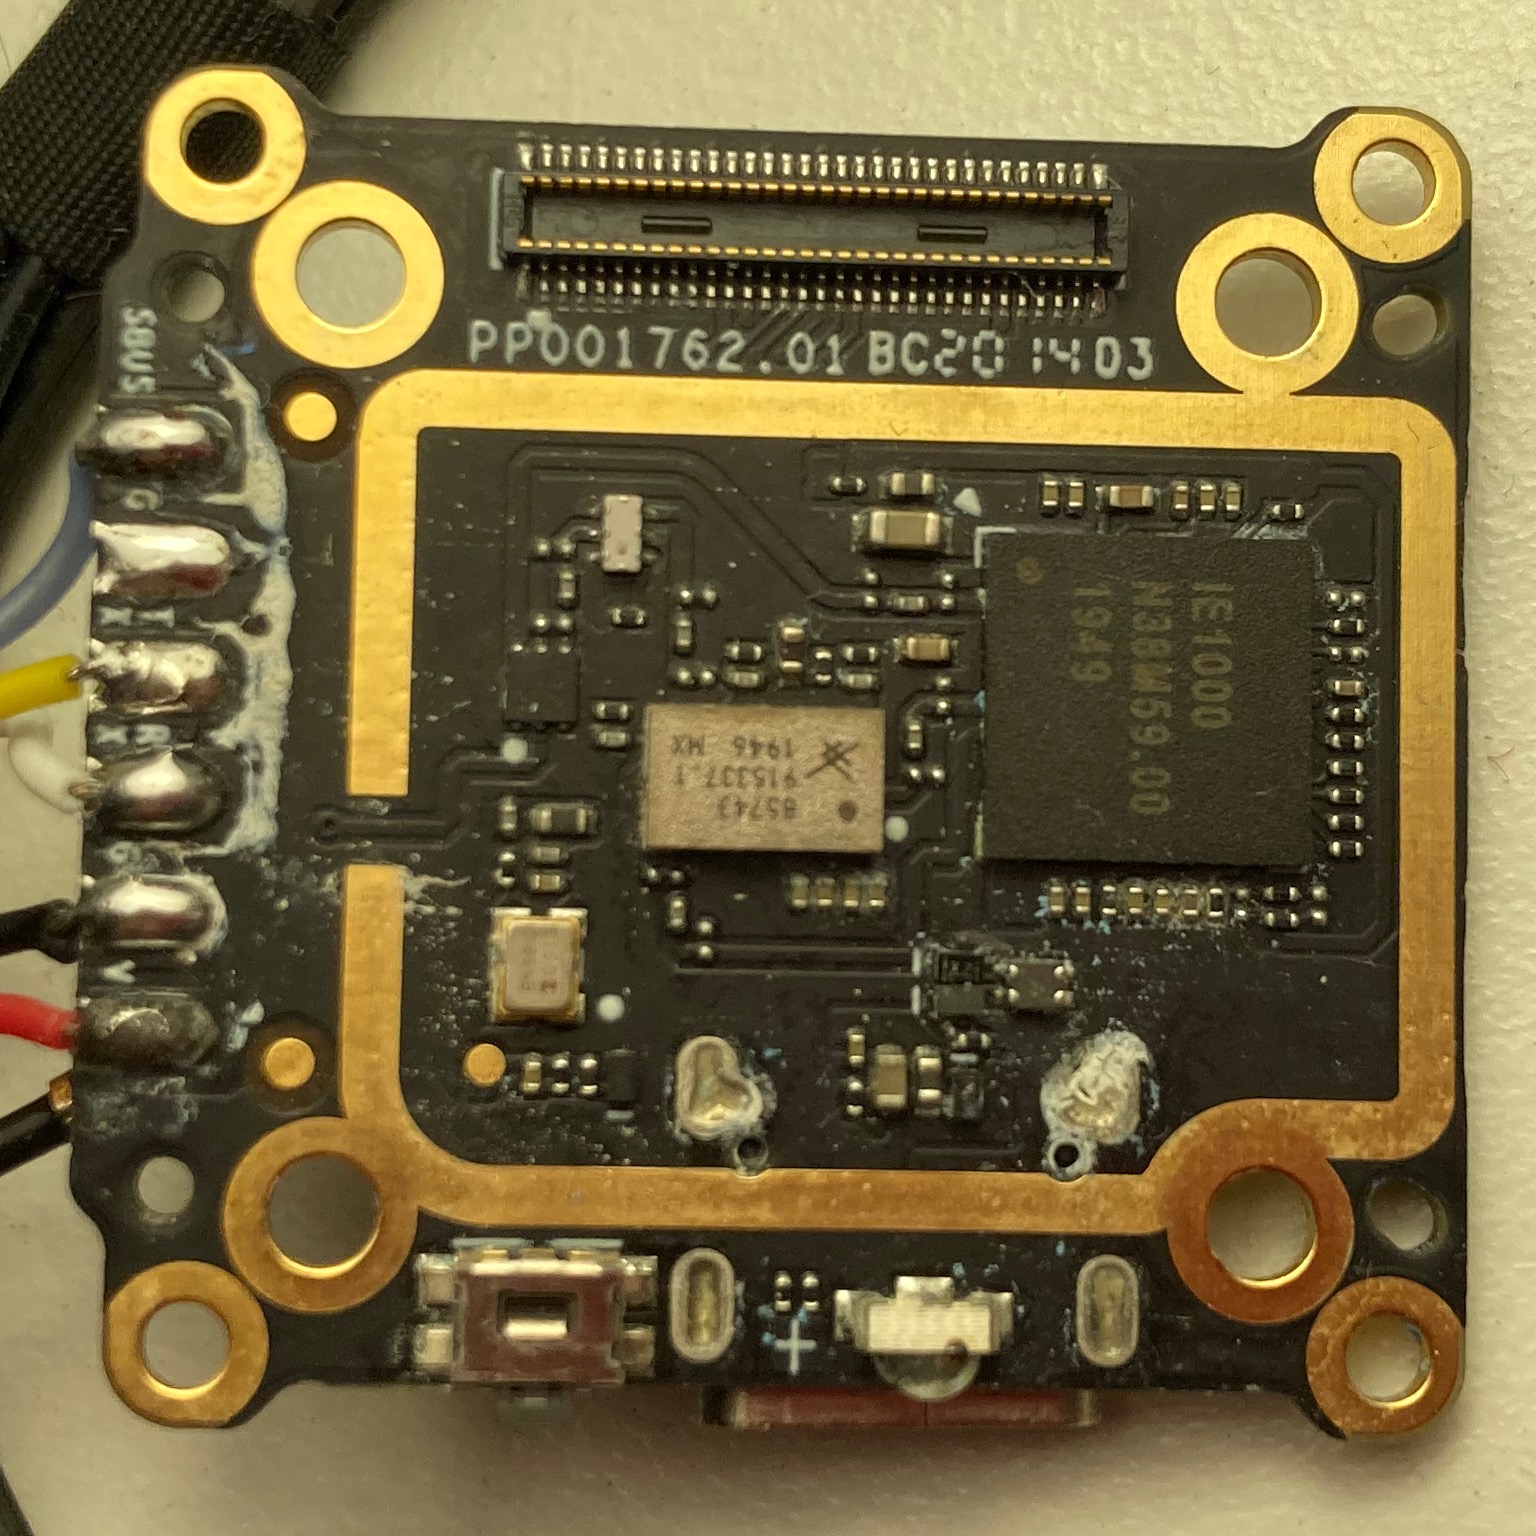
Internal Images Caddx Vista/Runcam Link
Note: These images have been provided from an unknown original source, if you are the original source of these images and would like attribution please email mad_rc@icloud.com.

Common Issues
Vista/Link OSD not working due to diode failure.
Common issue is UART and SBUS input diodes shorting to ground preventing OSD.
PN is PESD5V0V1BL

Also Can happen on DJI Air Unit as well.

Power Issues on DJI Air Unit
These board are susceptible to overvoltage and voltage spikes from motors and esc on crashing .
Common issue is TI54335A Regulators burning out.