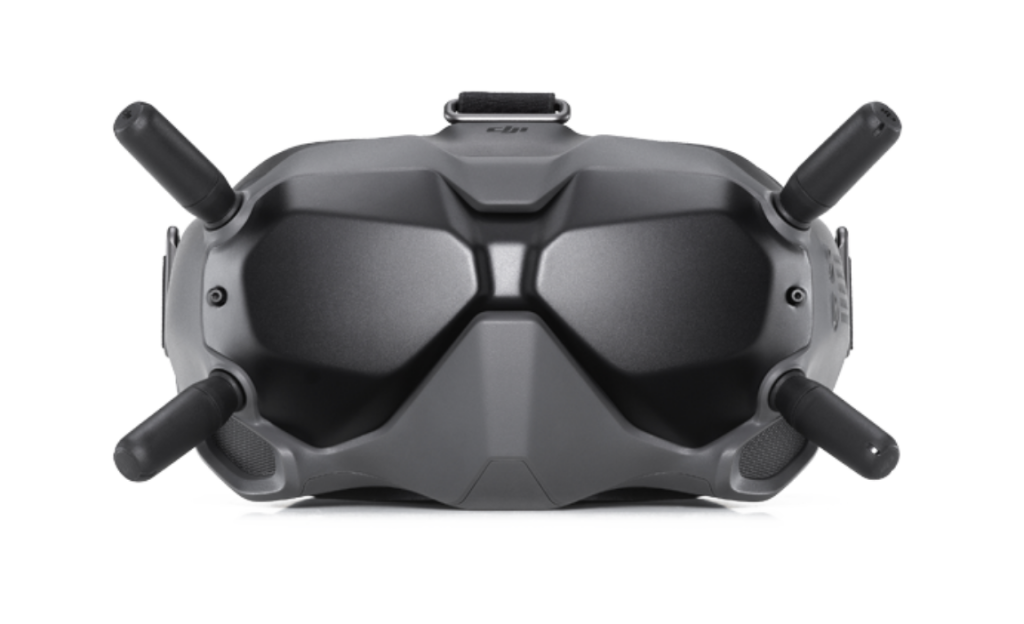
DJI FPV Goggles V1
DJI Say
The DJI Digital FPV System was designed for the drone racing industry. It consists of the DJI FPV Air Unit Module, DJI FPV Camera, DJI FPV Goggles, and DJI FPV Remote Controller, all of which are packed with powerful features and serve a significant role in the development of our HD Low Latency FPV system. We have redefined drone racing, delivering lower latency rates, stunning HD resolution, and, most importantly, an unforgettable FPV flying experience.
Released in 2019 the DJI Digital FPV Goggles were designed to be used with the DJI Digital FPV Air Unit and later the CaddX Vista.
- Dual 2 Inch 1440 × 810 Displays Max 120hz
- 28ms Low Latency System Latency
- 4 Antennas 2 x TX 4 x RX
- Goggles DVR
- Analog CVBS Input via 3.5mm Jack.
- Single Band – 5.725-5.850 GHz
- Low Latency Mode (720p/120fps)
- High-Quality Mode (720p/60fps)
- IPD 58 -70 mm
- FCC: <30 dBm; CE: <14 dBm; SRRC: <19 dBm
- 1200mw & FCC Naco Hack Available
Mads DJI Digital FPV Review
DJI FPV Goggles V2
Released in 2020 with the DJI FPV Drone the Goggles V2 are externally identical to the V1 goggles however added dual band 2.4 & 5ghz Ocusync for use with the FPV Drone.
These goggles remained compatible with the DJI Digital FPV System and added support for the new DJI FPV drone, and later support for the DJI Avata and DJI 03.
The V2 goggles retained all of the main same features as the V1 apart from and increased input voltage range from 17V (2S to 4S) up to 25.2V (2S to 6S).
DJI FPV Antennas
The V1 goggles are shipped with single band LHCP 5.8Ghz antennas where as the V2 are shipped with dual band 2.4 & 5Ghz linear polarised antennas. There are also changes to how the goggles transmit that is explained in the below video.
DJI FPV FCC Hack
To switch to FCC Mode on DJI Digital FPV system you create a file and place it on the sd card of the Air Unit/Caddx Vista/Runcam Link to allow you to be able to select 700mw in CE regions. This will also allow the selection of 8 channels rather than the 4 in CE.
To Do It
Create a text file on the root directory of a micro SD card and name it “naco”, it is best to use Notepad++ to do this and save without file extension so the file name and extension becomes naco.txt
Type just the number “1” in the text file and save.
Insert SD card in the DJI Air Unit and power on the full system.
Under the power settings in the DJI goggles you should now have 700mw available and 8 Channels
For Vista/link save Naco file onto Vista internal storage, do this by connecting vista/link to PC via USB C and powering air unit, you should see a drive appear in your drives list. if it does not rotate the USB C Cable 180 and try again.
1200MW Hack – Goggles
Before being able to do the 1200mw mode hack the FCC Hack above must have been performed first.
Create a .txt file, name it naco_pwr with Notepad++
Type pwr_2 inside the text file then save.
Copy naco_pwr.txt to a micro SD card and place in DJI FPV Goggles (Not Airunit)
Power on Goggles and Air Unit and wait for connection.
You should now have 1000 & 1200mw modes available in the power settings.
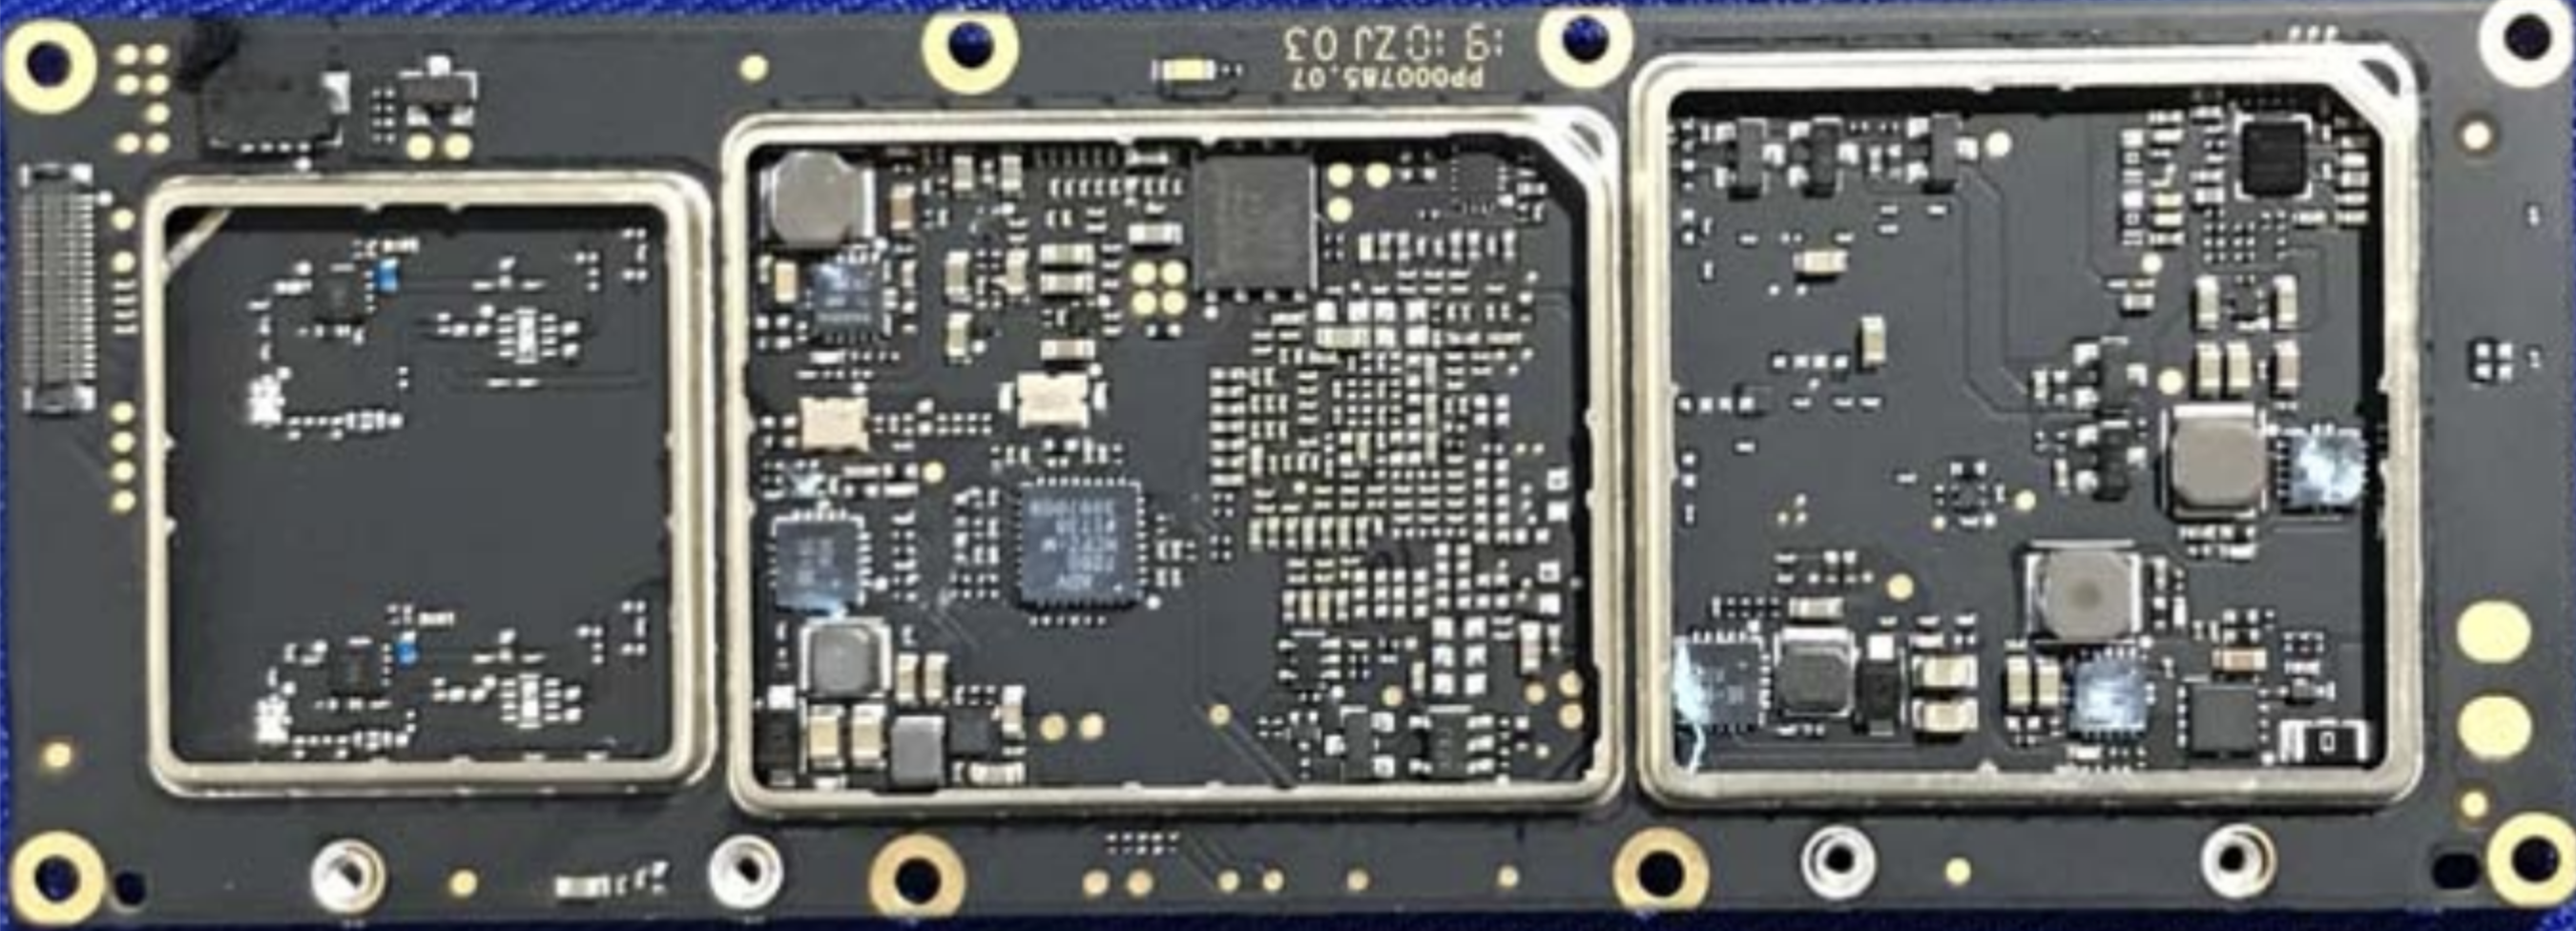
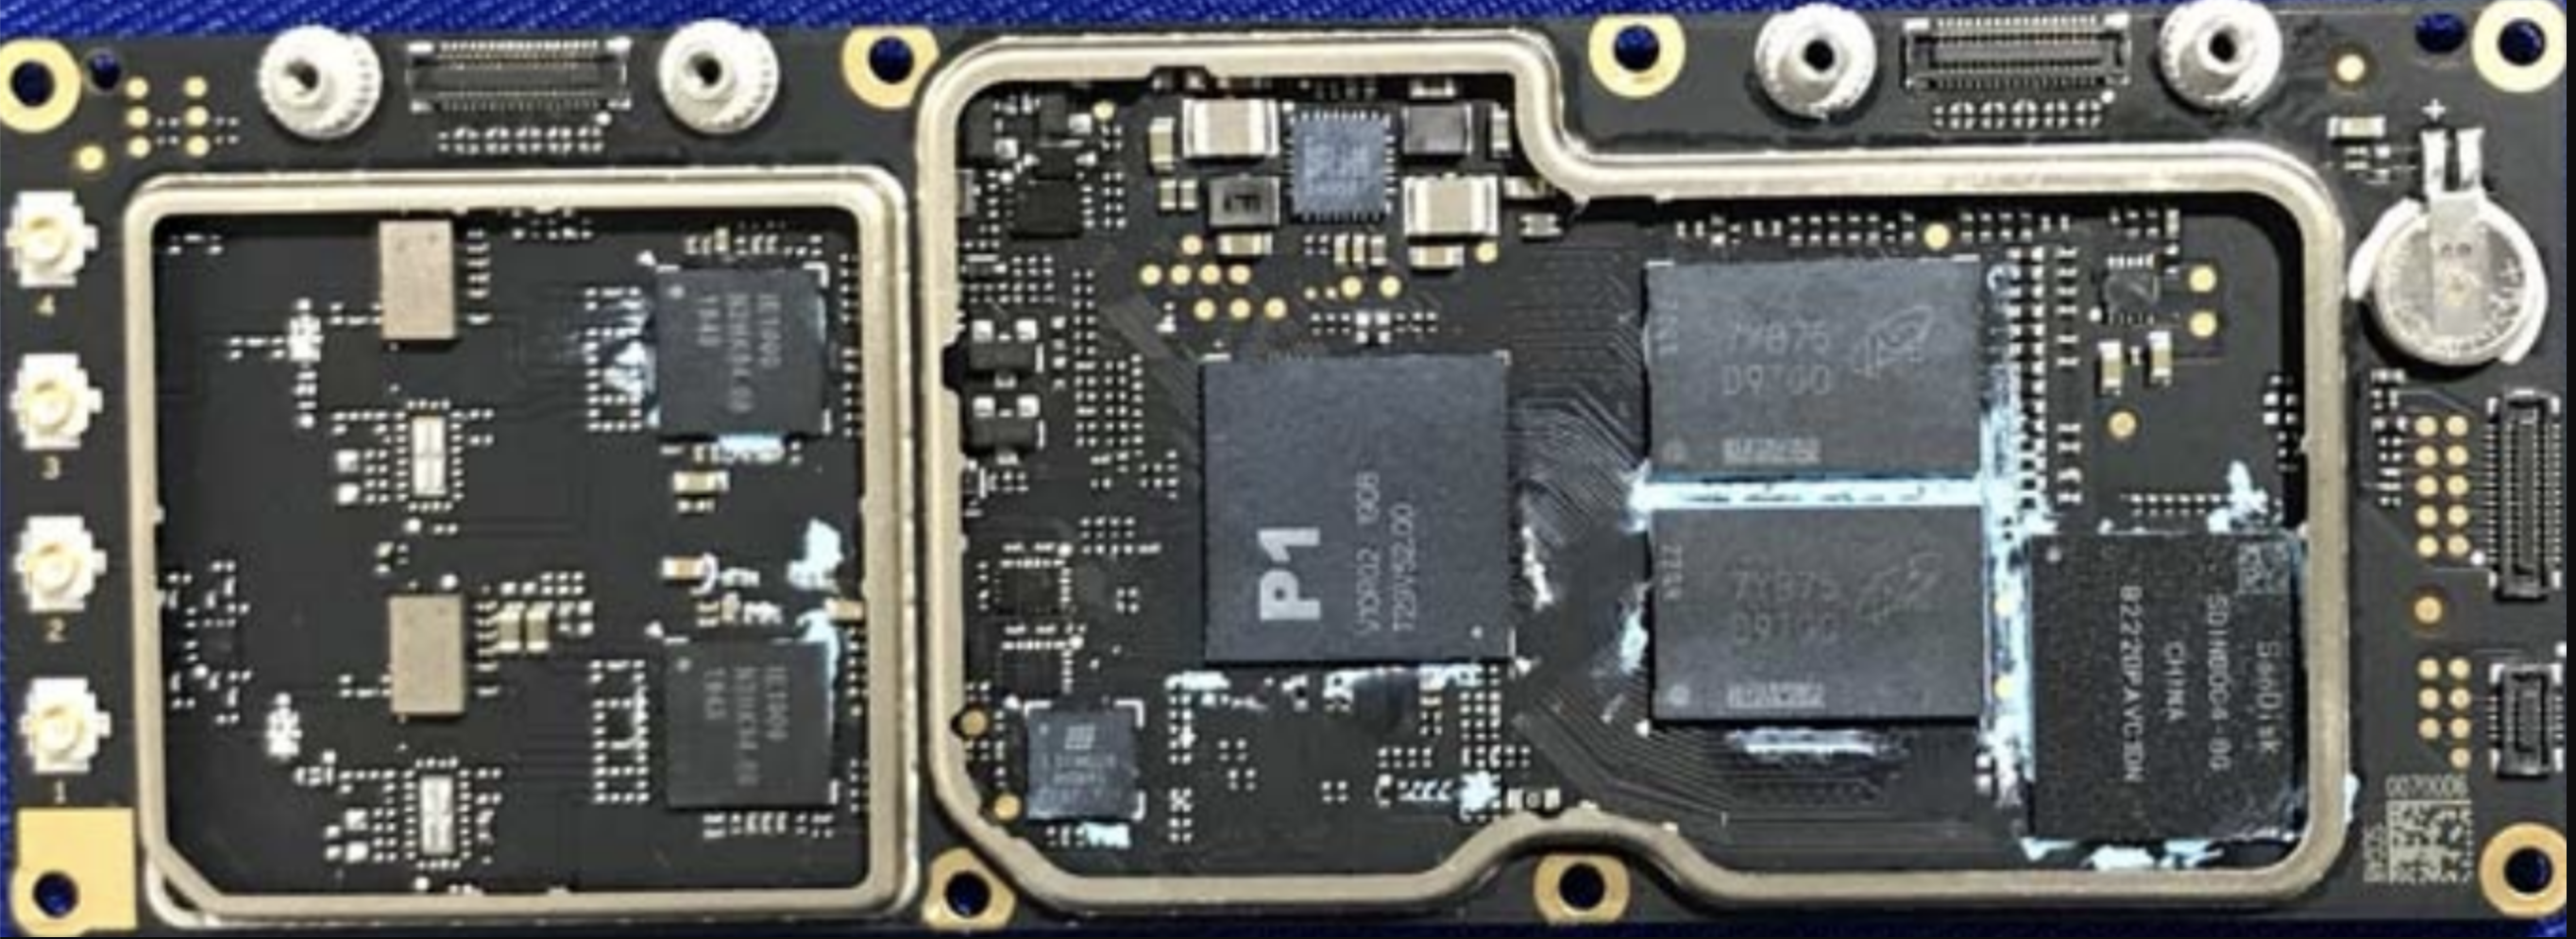
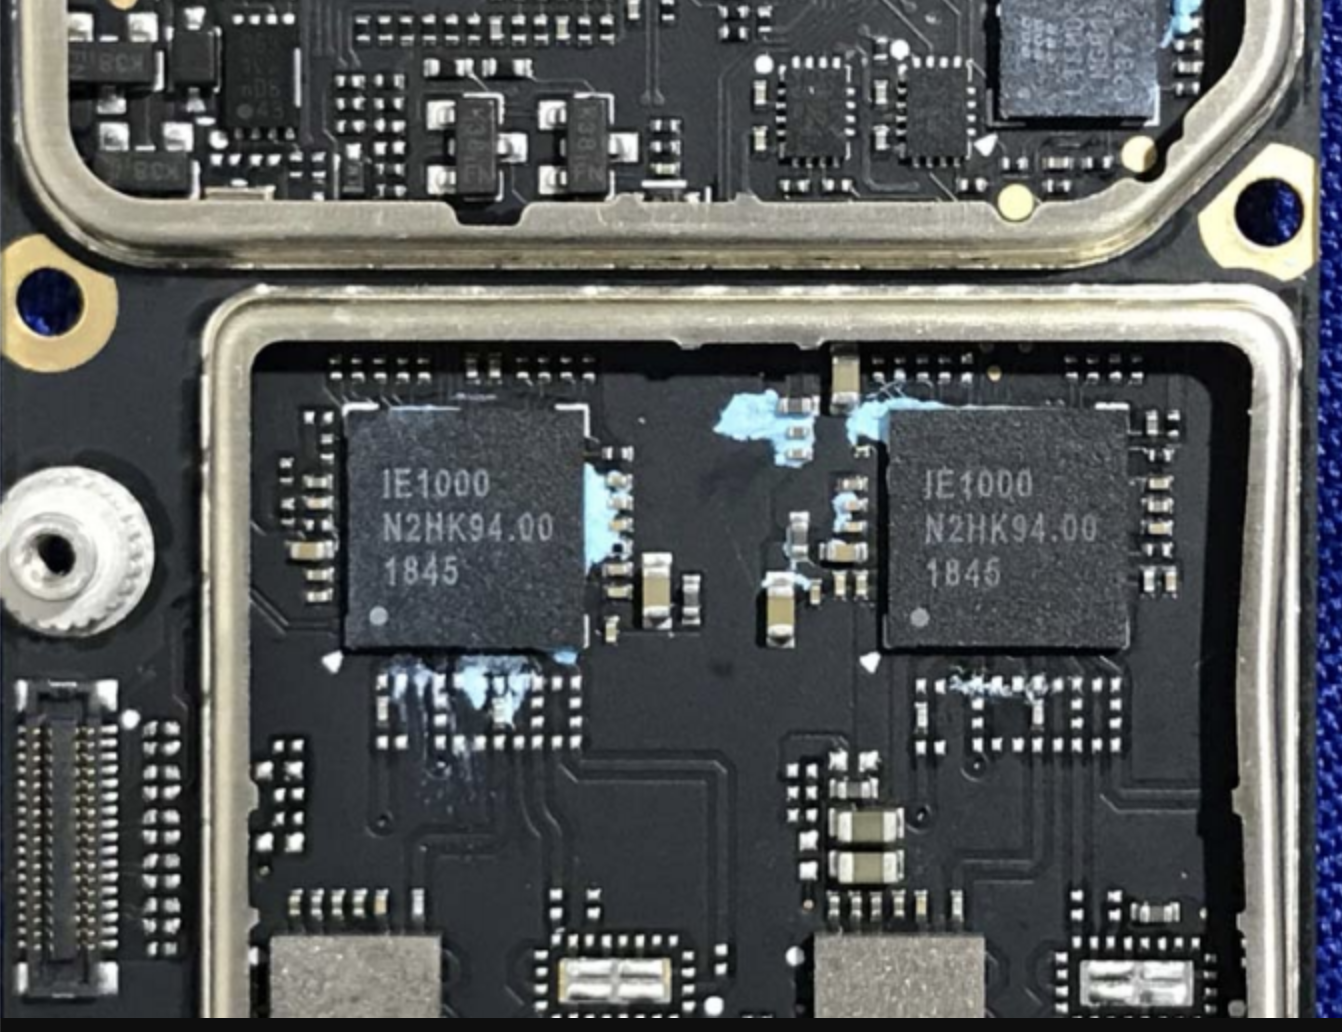
DJI FPV Goggles Internal Images
These are some images collected from random online sources, however if you have better imaged of the V1 or V2 Goggles PCB please reach out.
DJI FPV Goggles V1 PCB